
Generate a Transparent PNG from Text with Qwen Image
Create a new transparent asset with Qwen Image 2.1. Follow the settings, inspect a real PNG on light and dark backgrounds, and check its edges.
Last updated: 2026-10-15
Create a new asset, or cut out an existing photo?
To create a new transparent asset from text, select Qwen Image 2.1, PNG and Transparent background. You describe the subject; the model invents a new image. No reference photo is needed.
To remove the background from an existing photo while keeping the subject unchanged, use a background-removal or masking tool. Qwen reference editing can redraw edges, materials and other details. It is not a lossless cutout, and this workspace has no brush mask to lock the subject in place. If a creative reinterpretation is acceptable, follow the reference-editing guide.
Prepare one subject and choose the settings
Start with a product concept, sticker subject or decorative object. Describe the subject, its material and the viewing angle; avoid asking for a room or landscape behind it. You will need Google sign-in and paid credits to generate. You can inspect the example and download its original below without signing in.
- Open the workspace and choose Create image, then Qwen Image 2.1. Qwen Image 3 and 3 Pro do not offer transparent output here.
- Select PNG and Transparent background. JPEG cannot preserve transparency. Prompt enhancement is disabled for transparent output.
- Choose an aspect ratio that fits the subject. The example below used 1:1 and 2K; you can start at 1K for a smaller draft.
- Enter the prompt, check the displayed credit cost, then generate. Download the PNG and check it over your intended background before using it.
Real input and output: an orange glass flower
This site-generated example from October 15, 2026 used Qwen Image 2.1, Create, 2K, 1:1, PNG, transparent background and prompt enhancement off:
A single glossy sculptural orange glass flower, delicate curved stem, high-end 3D object, isolated subject only, no text
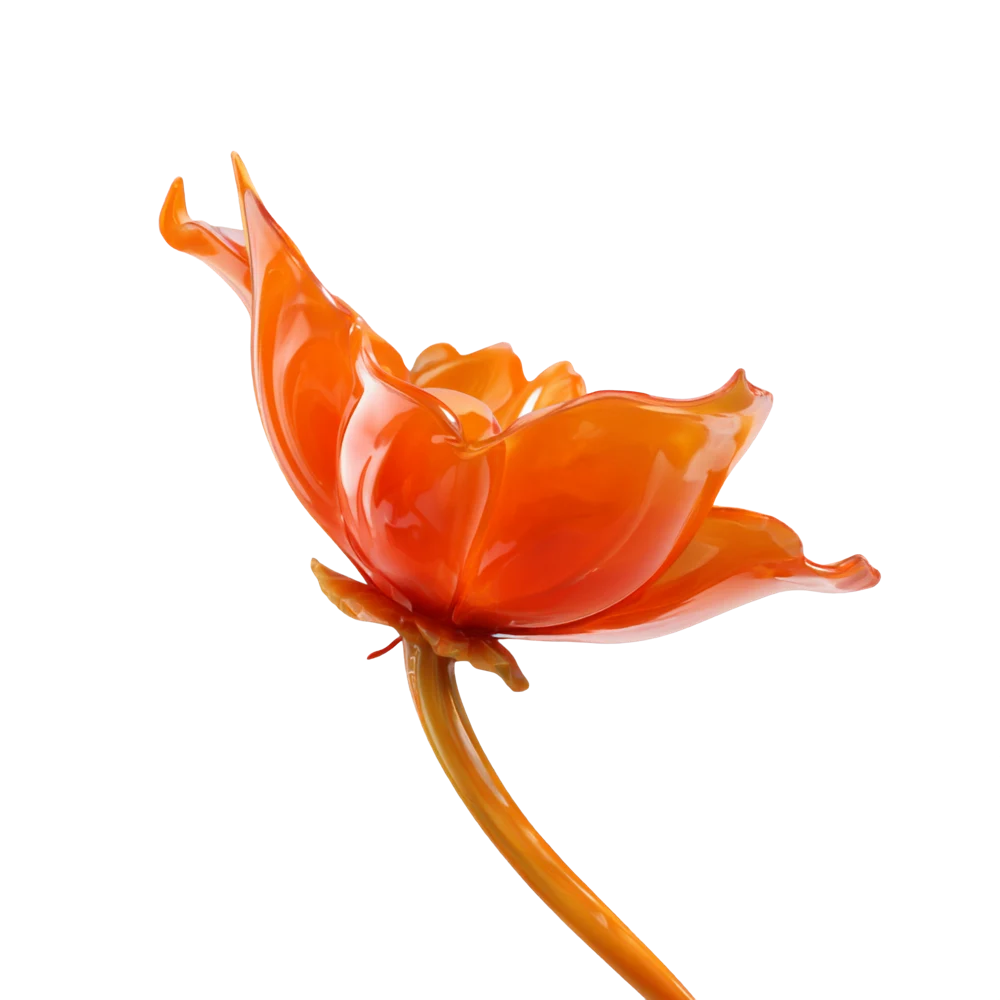
Download the original 2048 × 2048 PNG. The previews above show the same compressed WebP on two CSS background colors; neither is a second generation or an edge repair.
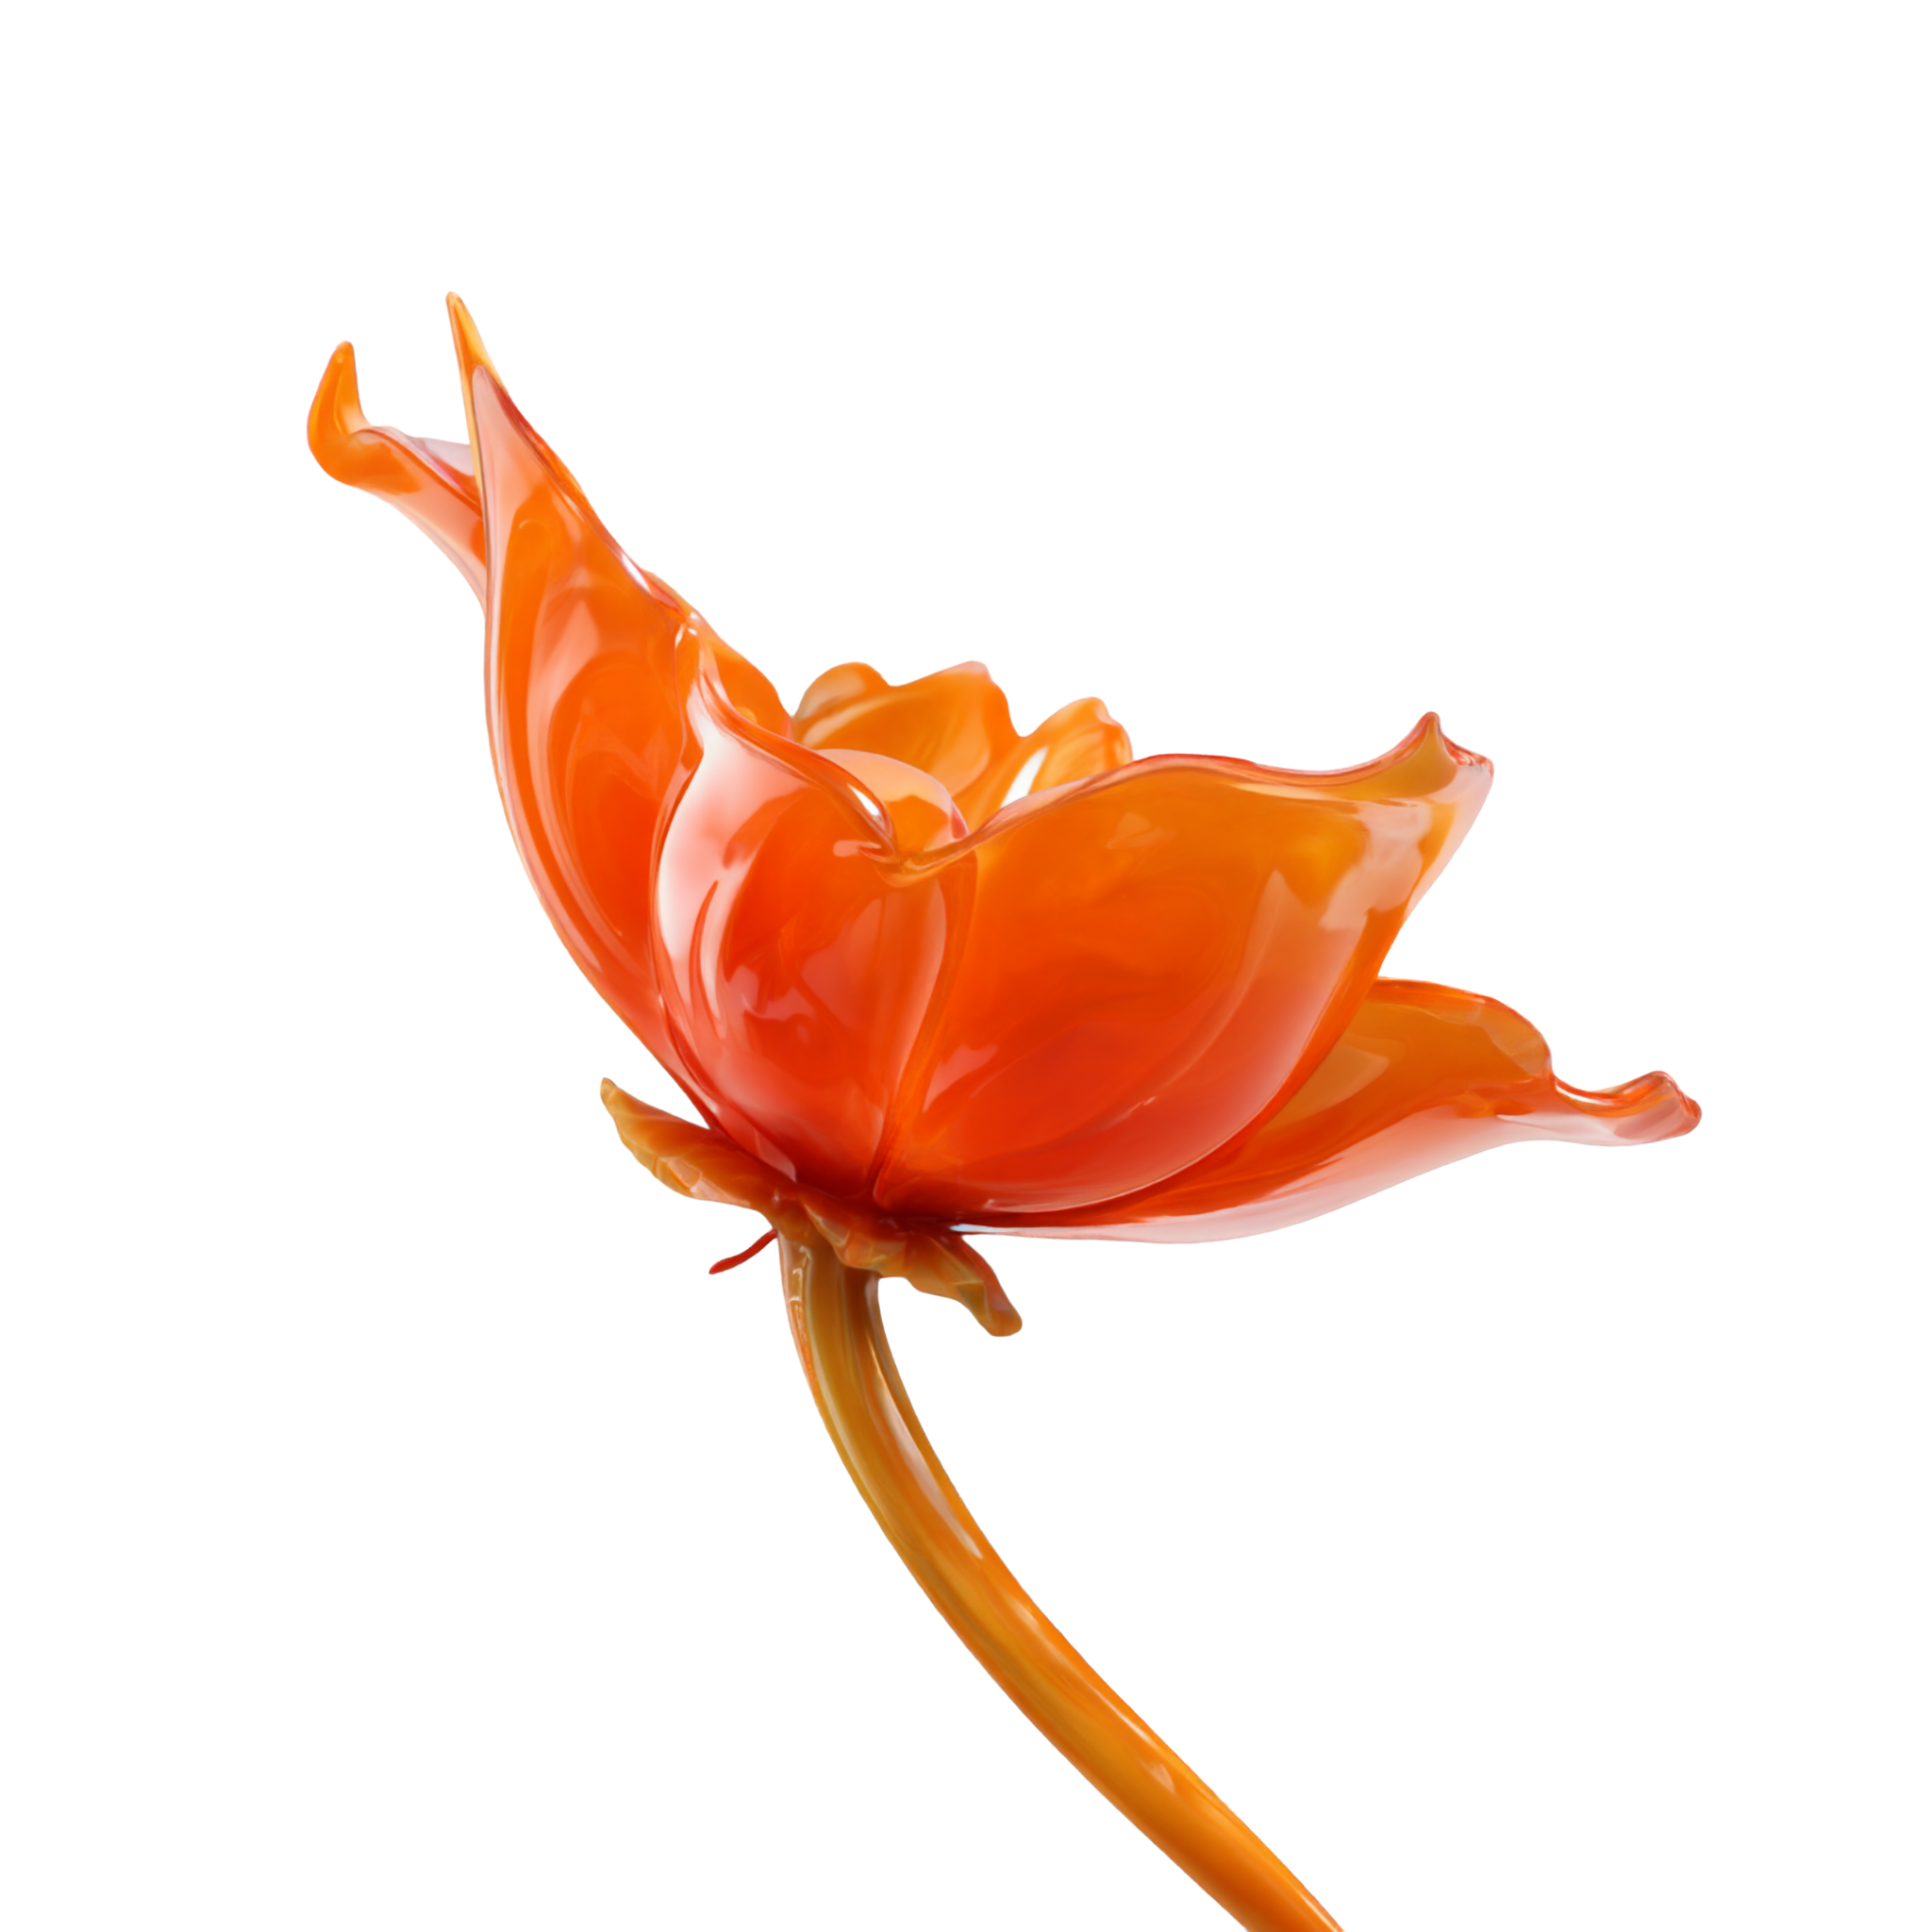
The original is RGBA with alpha values from 0 to 255: it contains fully transparent and fully opaque pixels, as well as intermediate transparency. That confirms a real alpha channel. It does not confirm clean edges. In this example, pale fringes and blocky remnants remain around parts of the petals and stem, especially visible against the dark background. The stem also reaches the bottom edge of the frame. This output needs inspection and potentially manual cleanup before placement in a finished design.
Check the file, not just the thumbnail
- Put the PNG over both white and dark layers in your design editor. A checkerboard drawn into an image is not proof of transparency.
- Inspect the original at 100% around petal tips, thin stems and translucent material. Look for pale halos, opaque patches and missing details.
- Check the intended crop and final background. If you need space around the entire object, ask for the whole subject to fit within the frame on a future attempt; that instruction is not a guarantee.
- If the shape works, refine the mask in an editor. If every original product detail must survive, start from the real photograph and use a cutout workflow instead.
Costs and the next step
Qwen Image 2.1 costs 35 credits at 1K or 65 at 2K per generation. A new attempt uses credits even if you dislike its edges. A larger file does not guarantee a cleaner mask. There are no free signup generation credits; one-time packs and optional subscriptions are available. No subscription required.
Use this workflow for a newly imagined asset, then finish its edges where needed. For changes to an existing image, first read what reference editing can preserve.